Artwork Area Editing
Master Realishot Artwork Area Editing: Create print areas (planar/cylindrical mapping), preview in real-time 3D, adjust text styles, edit images (PNG/JPG/SVG), and control surface finishing parameters. Enhance product visuals with typography, graphics, and physical effects for efficient digital prototyping.
Artwork Area Editing
Entering Artwork Area Editing
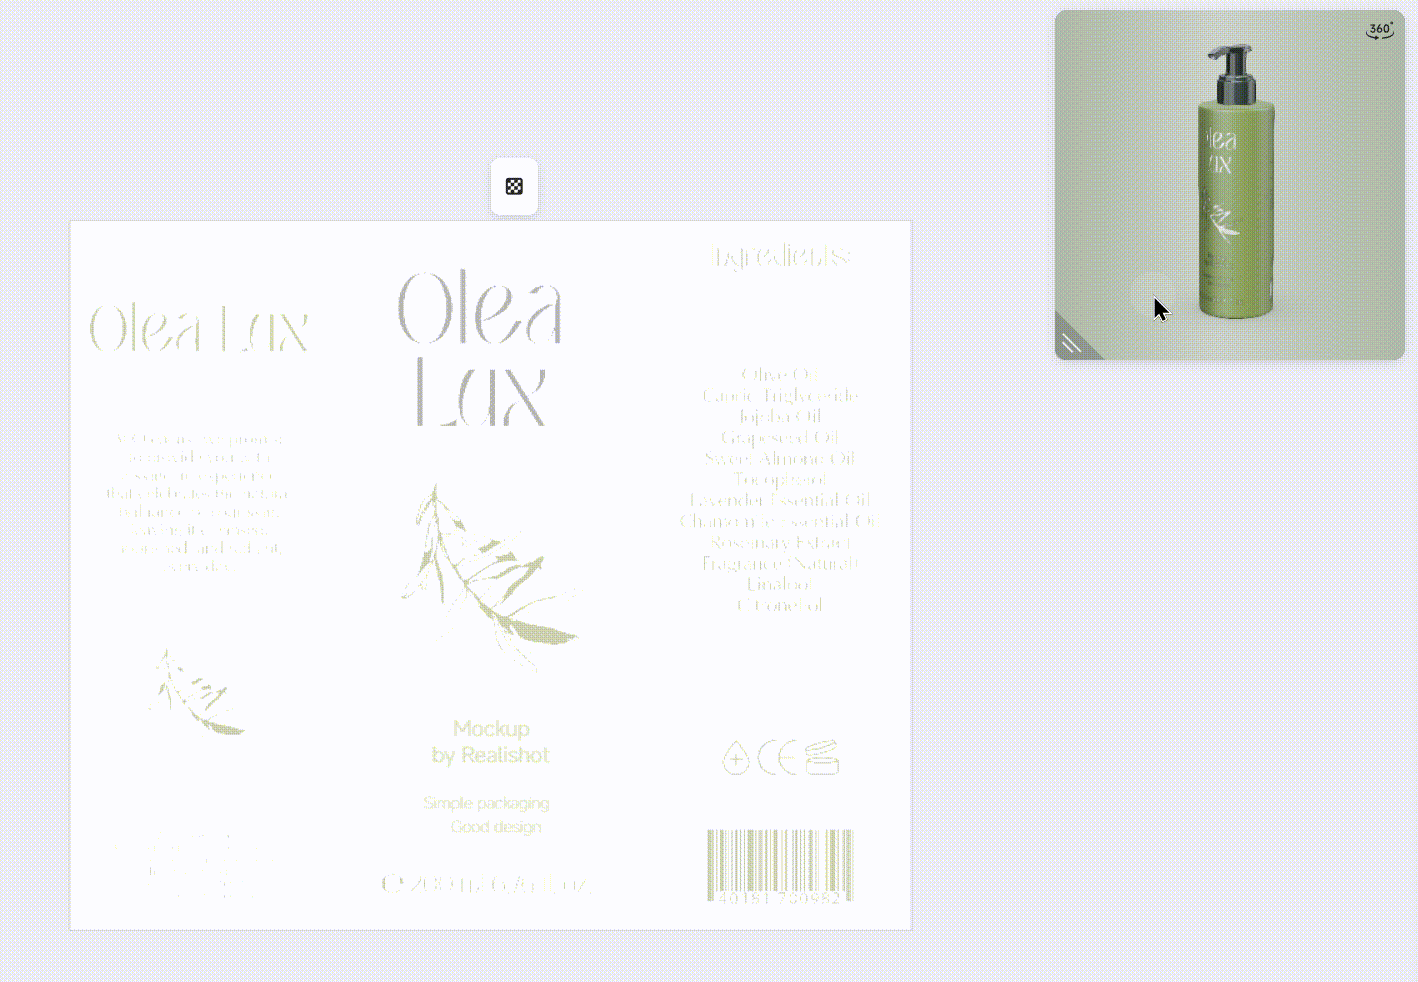
Templates or mockup models provided by Realishot typically include pre-configured artwork areas. To modify them, simply enter the corresponding editing mode.
Access artwork area design mode from these three locations:
- Select the artwork area in the 3D scene → click the "Design Artwork" button
- Click the artwork area icon in the resource tree
- Select the artwork area in the resource tree → click "Enter Artwork Design" in the object toolbar

Creating an Artwork Area
When using custom models or adding new artwork areas:
- Select the model/component
- Click "Create Artwork Area" in the right toolbar
- Mapping Method: Determines projection onto the model surface
- Planar: For flat surfaces
- Cylindrical: For cylindrical surfaces (e.g. bottles)
- Size: Adjusts artwork area dimensions

Image Design Mode (Artwork Area Editing)
Interface Overview
The interface differs slightly from 3D editing mode but maintains consistent layout logic:
- Left: Upload panel & material library (graphic design resources only)
- Right: Structure tree, toolbar, and properties panel
- Center: 2D canvas + 3D preview window

3D Preview
All design modifications synchronize to the 3D preview upon exiting edit mode. Freely adjust viewing angles or resize the preview window.
Text Editing
Adding Text
- Drag text elements from the left material library → canvas
- Double-click text to edit content
Adjusting Text Styles
Select text to access style adjustments:
- Font selection
- Font style
- Font size
- Text color
- Font weight
- Line spacing
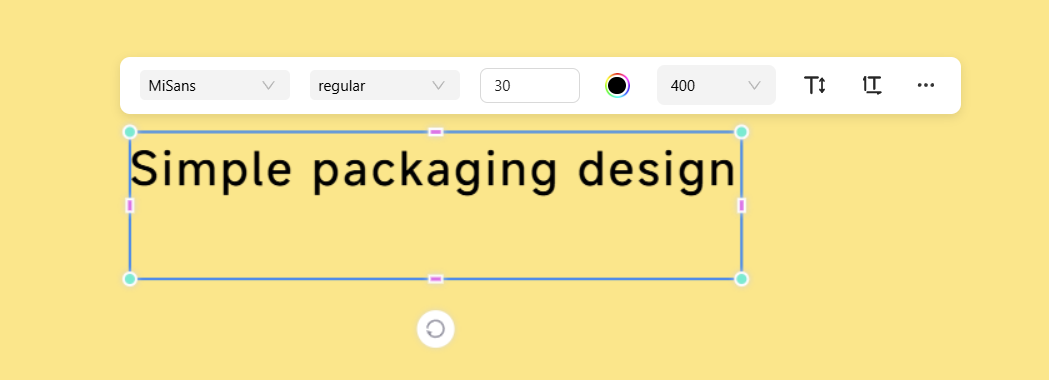
Image Editing
Adding Images
Upload local assets (.png, .jpg, .svg) via the left upload button. Apply graphics/icons/patterns directly from the material library.

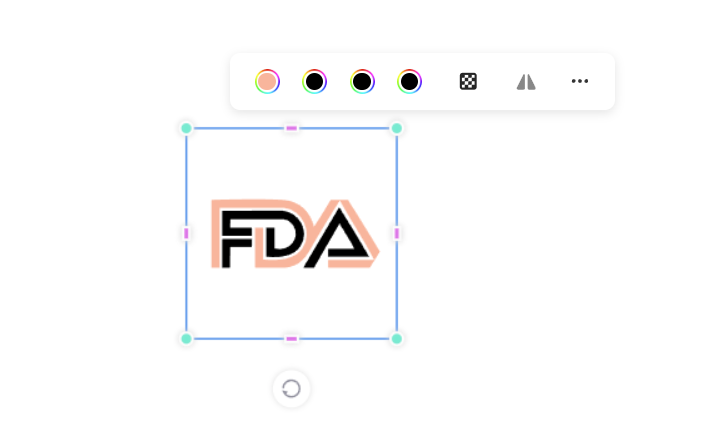
Editing Images
Select images to access adjustments:
- Color adjustment (SVG only)
- Opacity control
- Horizontal/Vertical flip
Surface Finishing
Adding Surface Finishing
Simulate physical processing effects to enhance visual/textural quality. Apply to any element via the properties panel:
- Select element
- Click "+" next to Surface Finishing
Surface Finishing Parameters
Similar to materials, surface finishing is controlled by various basic parameters. Surface finishing includes the following parameters:
- Color: Sets the base tone of the finishing effect.
- Matte: Controls surface roughness.
- Metallic: Adjusts the intensity of the metallic effect.
- Embossing: Sets relief depth (default value 1 = flat surface). Values 0-0.99 create recesses (lower values = deeper recesses). Values 1.01-2 create raised areas (higher values = more pronounced relief).
- Opacity: Changes the display mode of transparent edges. Mask mode produces sharper edges.
Environment & Lighting
Master lighting in Realishot with professional HDR environments for global illumination. Explore 50+ built-in templates (indoor/outdoor/studio), adjust intensity, rotation, saturation, and blur. Combine with point/spot/directional/area lights for stunning renders. Learn environment shadow control to enhance product visualization quality.
Camera
Learn to add multi-angle cameras, configure viewfinder size/focal length/perspective limits for precise scene composition. Discover batch rendering techniques to optimize ray tracing efficiency. Unlock professional camera controls now!