Quick Start
First step
Realishot Quick Start Guide: Master 3D design in 3 steps! ① Sign up ② Create virtual prototyping project ③ Learn viewport operations. Start your product design journey quickly.
Three Steps to Get Started
Realishot Quick Start Guide
Step 1: Create Personal Account
-
Click this link directly: [Realishot Registration Page]((https://realishot.com/entry/register) or go to Realishot official website and click Login/Register button.

-
Follow registration instructions to enter mobile number and complete sign-up.
-
After registration, you'll auto-login and enter Realishot Workspace. For future logins, use Realishot Login Portal or bookmark Workspace URL.
Step 2: Create New Project
- After login, access Realishot Workspace to create/manage project files.

- Click New → Create Mockup Design in top-left corner.

- New browser tab opens with Realishot application interface.

Step 3: Master Basic Operations
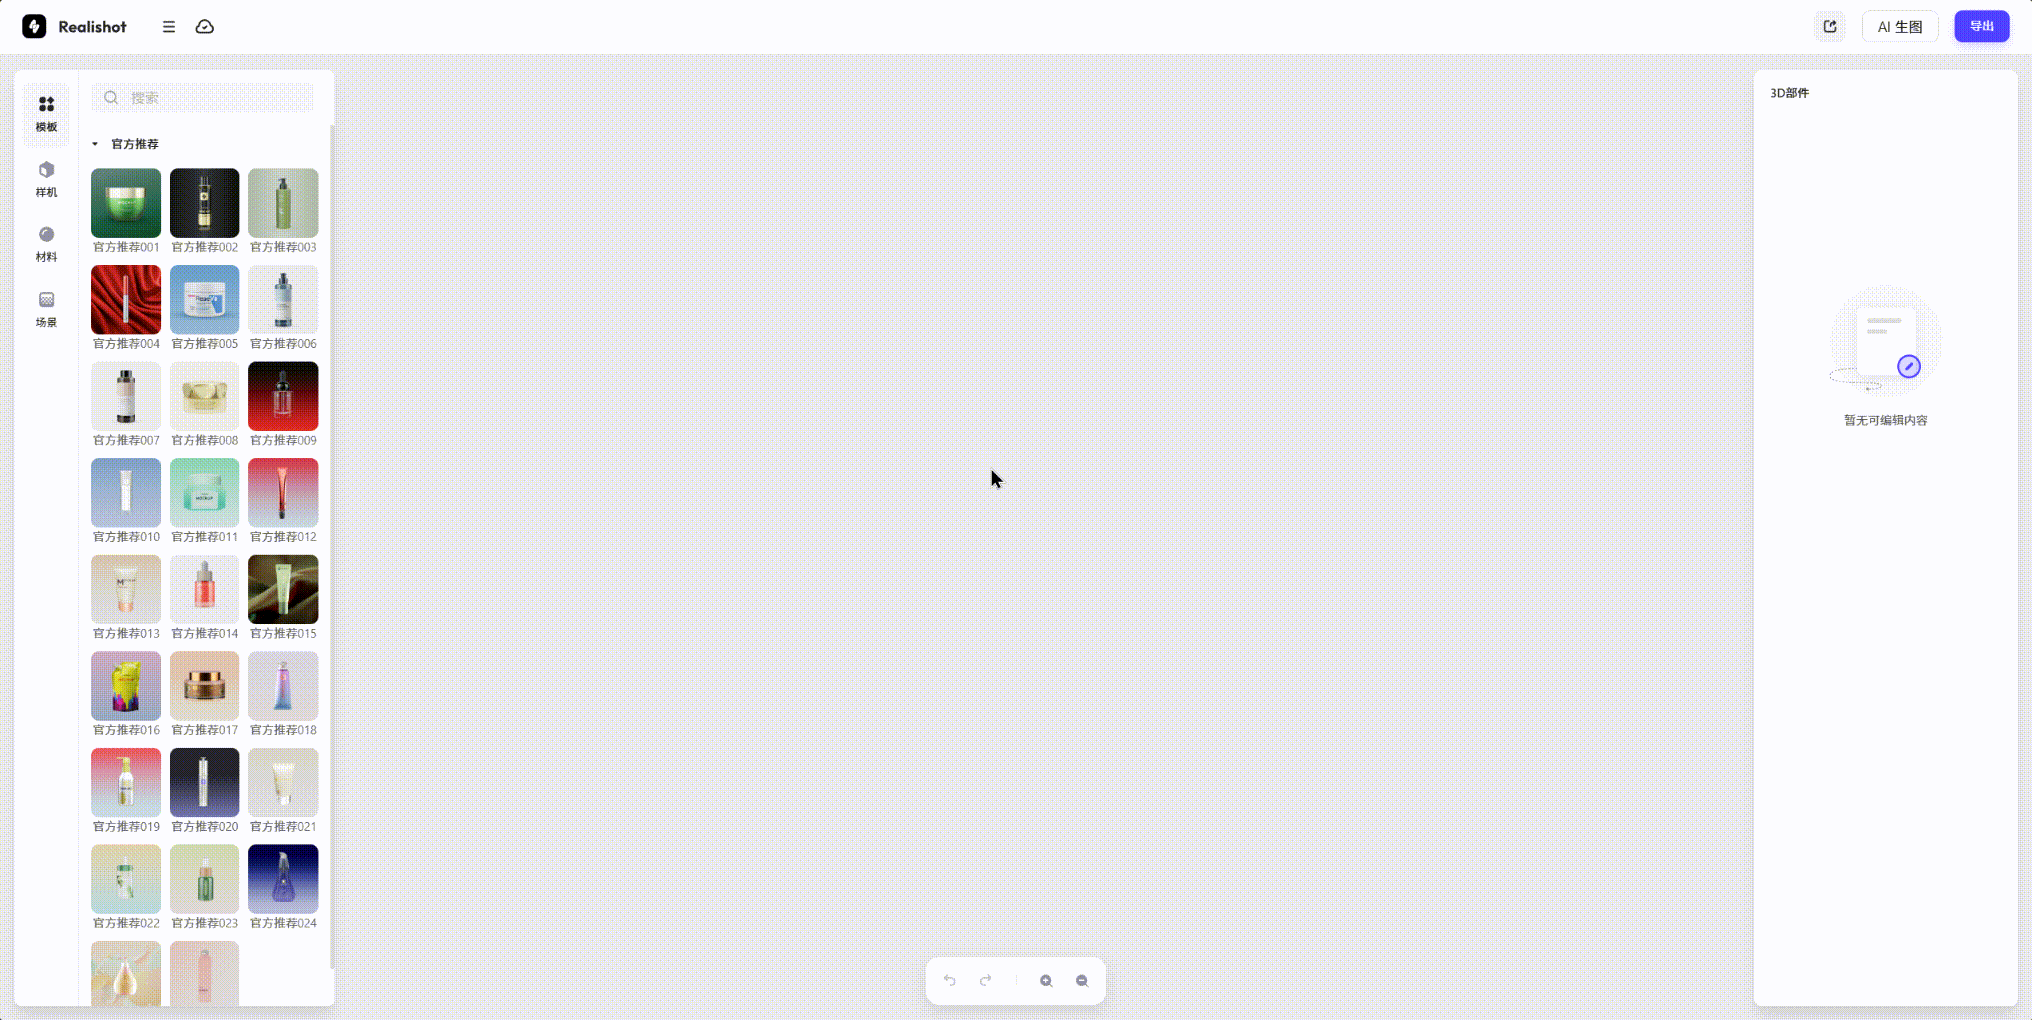
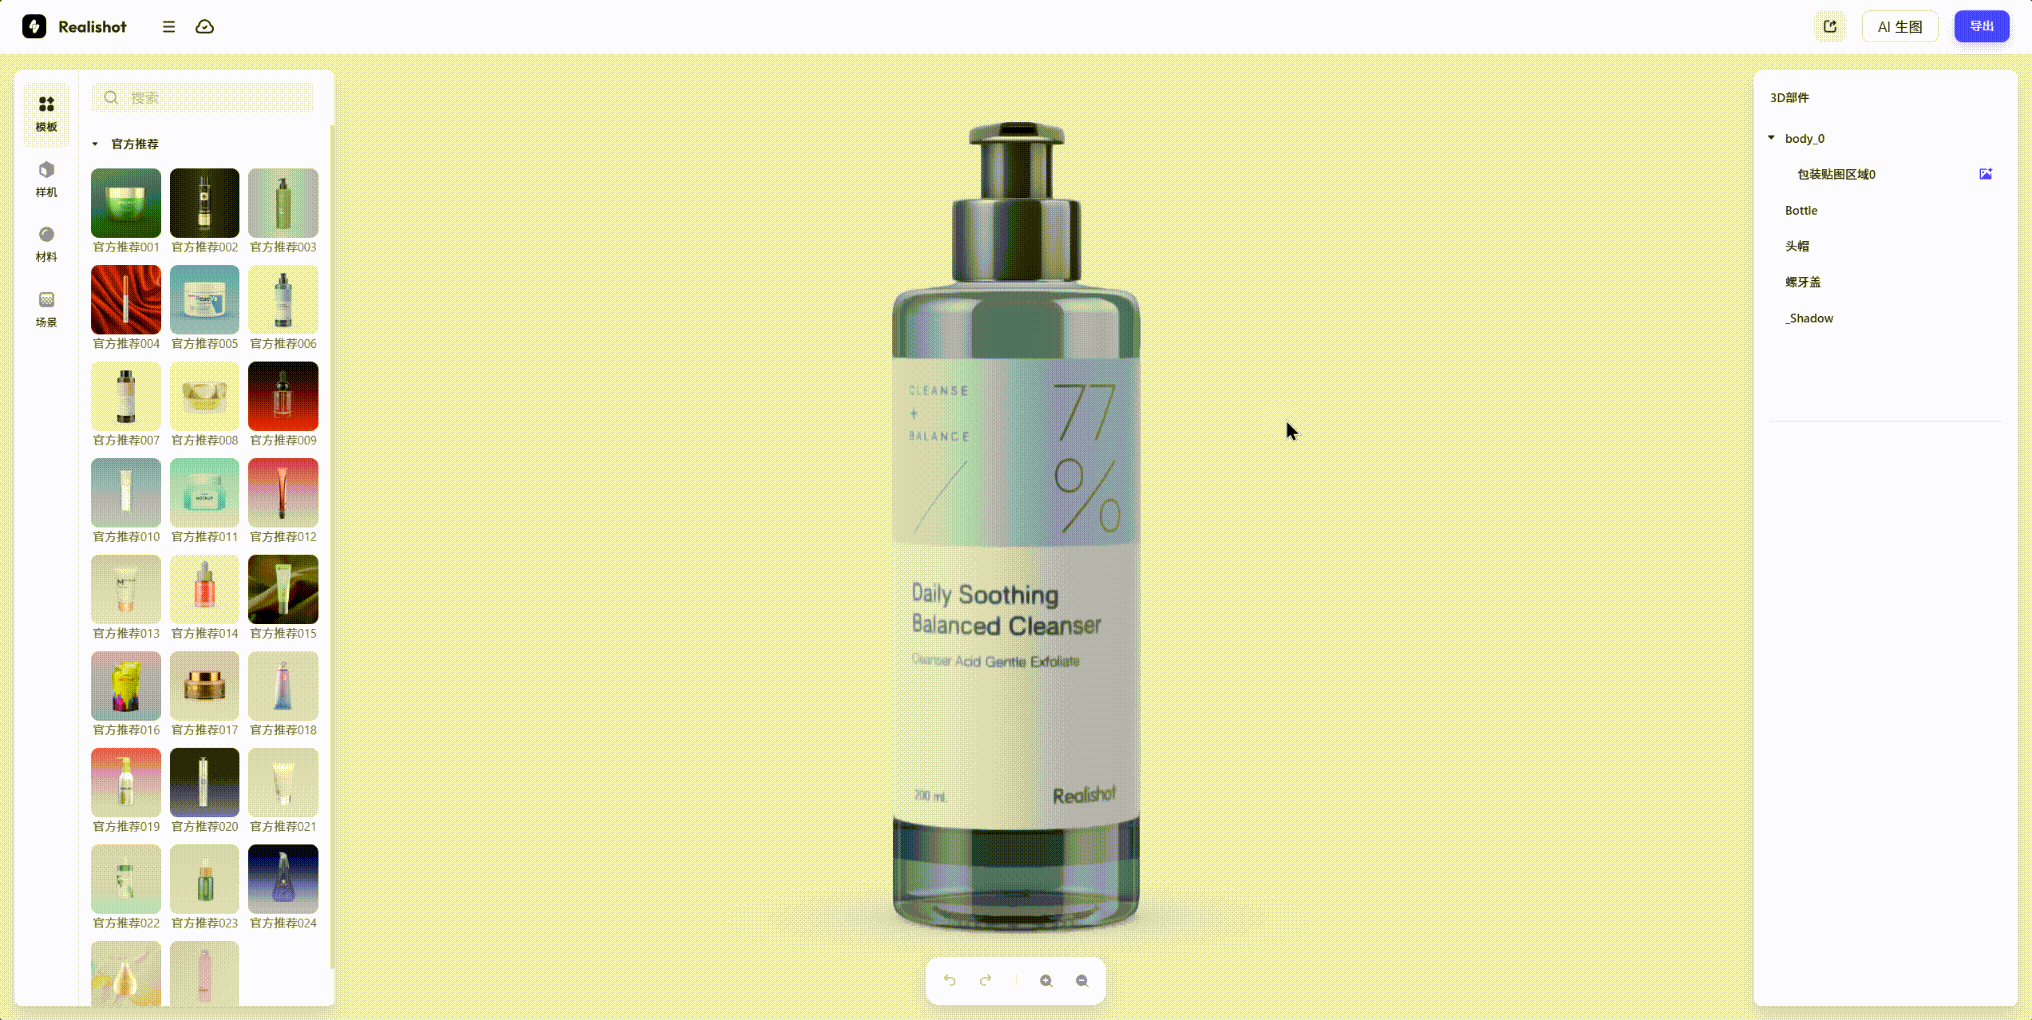
- Use Templates/Import Mockups: Click templates in left sidebar to import into scene.
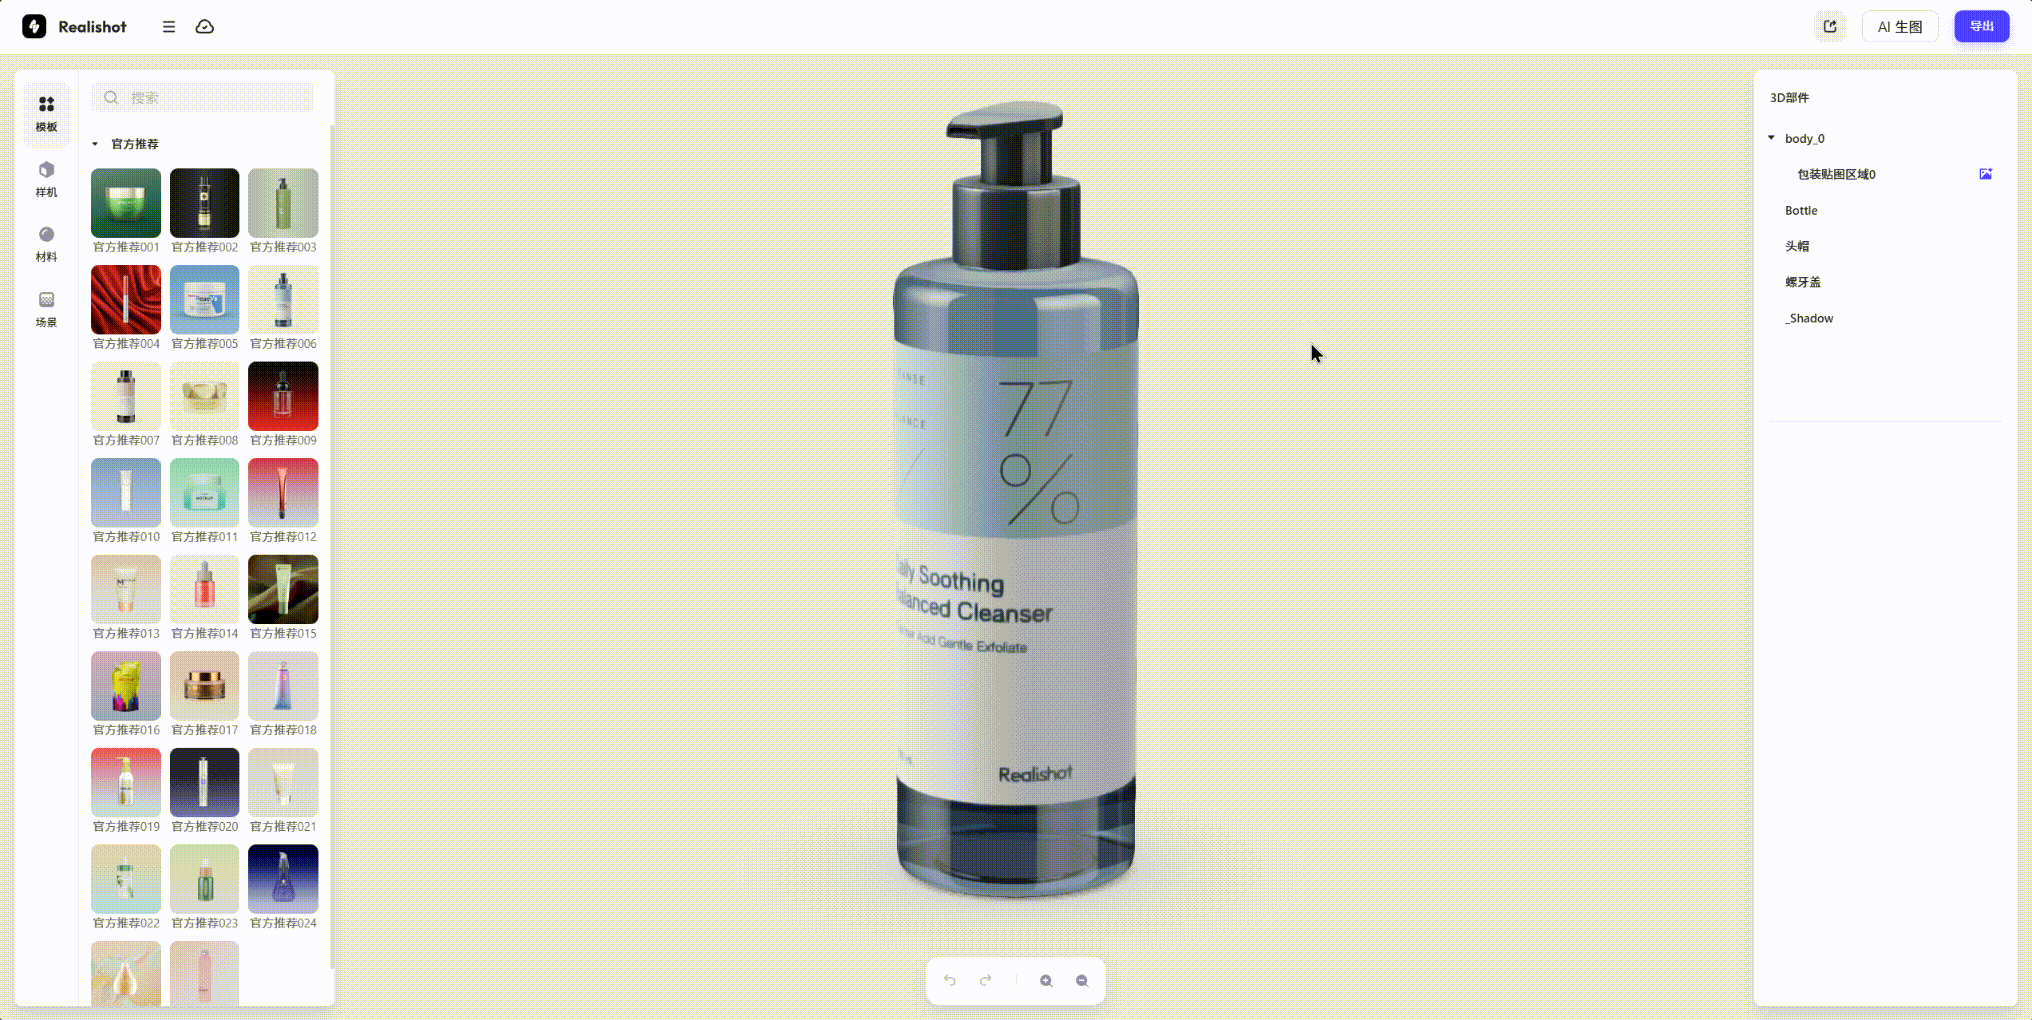
- Viewport Navigation:
- Rotate: Hold left mouse button + drag
- Pan: Hold right mouse button + drag

- Zoom: Scroll middle mouse wheel

- Rotate: Hold left mouse button + drag
- Click models to open corresponding component properties panel.
Detailed interface functions: See Interface Navigation and Object Operations chapters.