What Is 3D Rendering? A Designer’s Guide to How It Actually Works
Imagine trying to describe a dream. You can use words, maybe sketch a few vague shapes, but it’s impossible to truly capture how it felt—the light, the atmosphere, the reality of it. For decades, this was the challenge for architects, inventors, and designers. Their brilliant ideas were trapped as flat blueprints and abstract drawings.
Then came 3D rendering.
At its core, 3D rendering is the art and science of taking a digital concept and transforming it into a stunningly realistic image. It’s the process that allows us to see, experience, and believe in an idea long before it exists in the real world. But how does it work? It can seem like a black box of complex technology. As a designer who has spent a career in this world, my goal here is to demystify the process, to pull back the curtain on the magic, and show you how it actually works, free of the confusing technical jargon.
The Simple Definition: The Art of the Digital Photograph
In the simplest terms, 3D rendering is the process of creating a 2D image from a 3D model.
Think of a 3D model as a digital sculpture living inside your computer. It has a wireframe skeleton, shape, and volume. But you can't post a sculpture on Instagram. You need a flat picture. The rendering process is your virtual camera "taking a photograph" of that digital sculpture. It's the final, transformative step that calculates how light, shadows, and materials should look, turning a lifeless model into a convincing, photorealistic image.
The 3D Rendering Process: The 5 Steps from Blank Screen to Stunning Image
Every 3D render, from a simple product shot to a blockbuster film scene, follows a core five-step workflow.
1. Modeling (The Digital Sculpture)
This is where it all begins. An artist uses 3D software to create the shape and structure of the objects in the scene. By manipulating virtual points (vertices), lines (edges), and surfaces (polygons), they build everything from the ground up, whether it’s a detailed wristwatch or a sprawling city block. It's an act of pure creation, like a sculptor working with an infinite block of digital clay.
2. Texturing & Materials (The Digital Wardrobe)
A raw 3D model is a gray, lifeless shape. This stage is where it gets its skin. The artist defines what every surface is made of. Is this table made of polished oak or rough-hewn pine? Is this bottle made of translucent green glass or matte plastic? By applying textures (image files) and defining material properties like color, roughness, and metallicity, they give the object its visual identity.
3. Lighting (The Digital Photo Studio)
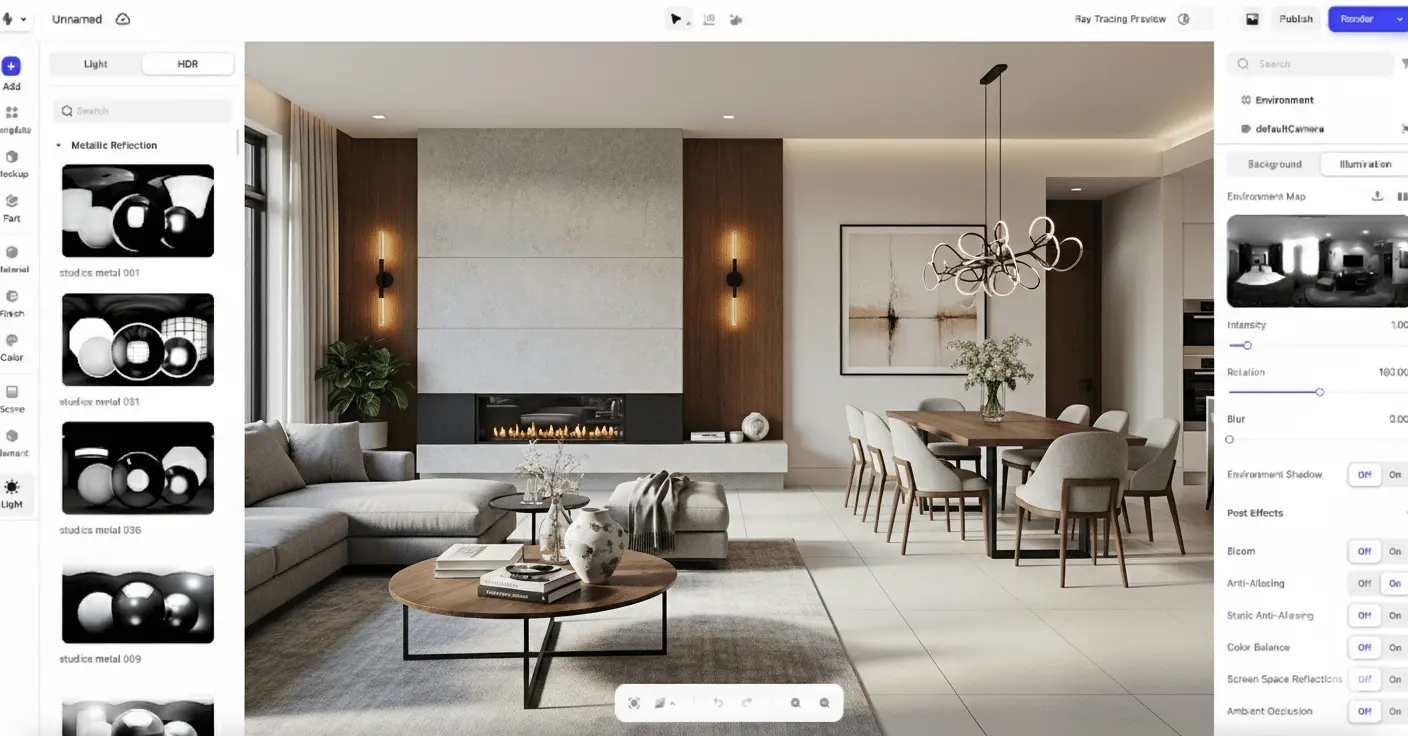
This is where the true artistry begins. Just like a professional photographer, a 3D artist must light their scene. They set up virtual lights—a "main" key light for focus, a "fill" light to soften shadows, and a "rim" light to create highlights. They choose a virtual environment that will cast realistic reflections. Lighting is what creates mood, depth, and emotion. It’s the difference between a flat image and a world you can almost step into.
 A professional digital studio setup within Realishot's clean interface, showing the lighting stage.
4. Rendering ("Developing the Film")
This is the moment of truth. After all the creative work is done, the artist hits the "Render" button. The computer takes over, beginning an intense calculation. The software simulates the physics of light, tracking the paths of millions of virtual photons as they shoot from the lights, bounce off the materials, and enter the virtual camera. This is traditionally the most technically demanding and time-consuming step of the entire 3D rendering process.
5. Post-Production (The Digital Darkroom)
No image is perfect straight out of the camera. The final, optional step is post-production. Here, the artist takes the rendered image into a program like Photoshop to make final tweaks—adjusting colors, enhancing contrast, adding subtle lens flare effects—the final polish that takes a great image and makes it an unforgettable one.
The Technology: Ray Tracing vs. Rasterization Explained
Under the hood, there are two main technologies that software uses to render an image.
Ray Tracing: The Detective Method
This is the gold standard for realism. Ray tracing works by simulating the actual path of light. Imagine a tiny detective following each ray of light as it leaves a light source, bounces off a table, refracts through a glass, and finally enters the camera. It’s a slow, meticulous process, but the result is unrivaled physical accuracy—perfect shadows, reflections, and lighting. This is the technology used for movie visual effects and high-end marketing images.
 An impeccably rendered modern living room, a perfect example of ray tracing's photorealistic quality.
Rasterization: The "Paint-by-Numbers" Method
This is the engine of speed. Rasterization works differently. It takes the 3D models, breaks them down into millions of tiny triangles (polygons), and figures out which color each pixel on your screen should be. It uses clever shortcuts to "fake" shadows and reflections. It’s an incredibly fast process, which is why it's the technology that powers every video game you've ever played. What it sacrifices in perfect accuracy, it makes up for in blazing speed.
Where You See 3D Rendering Every Day
Once you know what to look for, you'll see that 3D rendering has quietly built the modern visual world around us.
 In Architecture: Long before a shovel hits the dirt, every window, brick, and beam of a skyscraper has already been "built" and visualized in photorealistic detail. It’s a non-negotiable tool in modern 3D architectural rendering.
 In Movies & TV: From the spaceships of sci-fi epics to the talking animals in children's films, VFX artists use rendering to create impossible worlds and characters that seamlessly blend with reality.
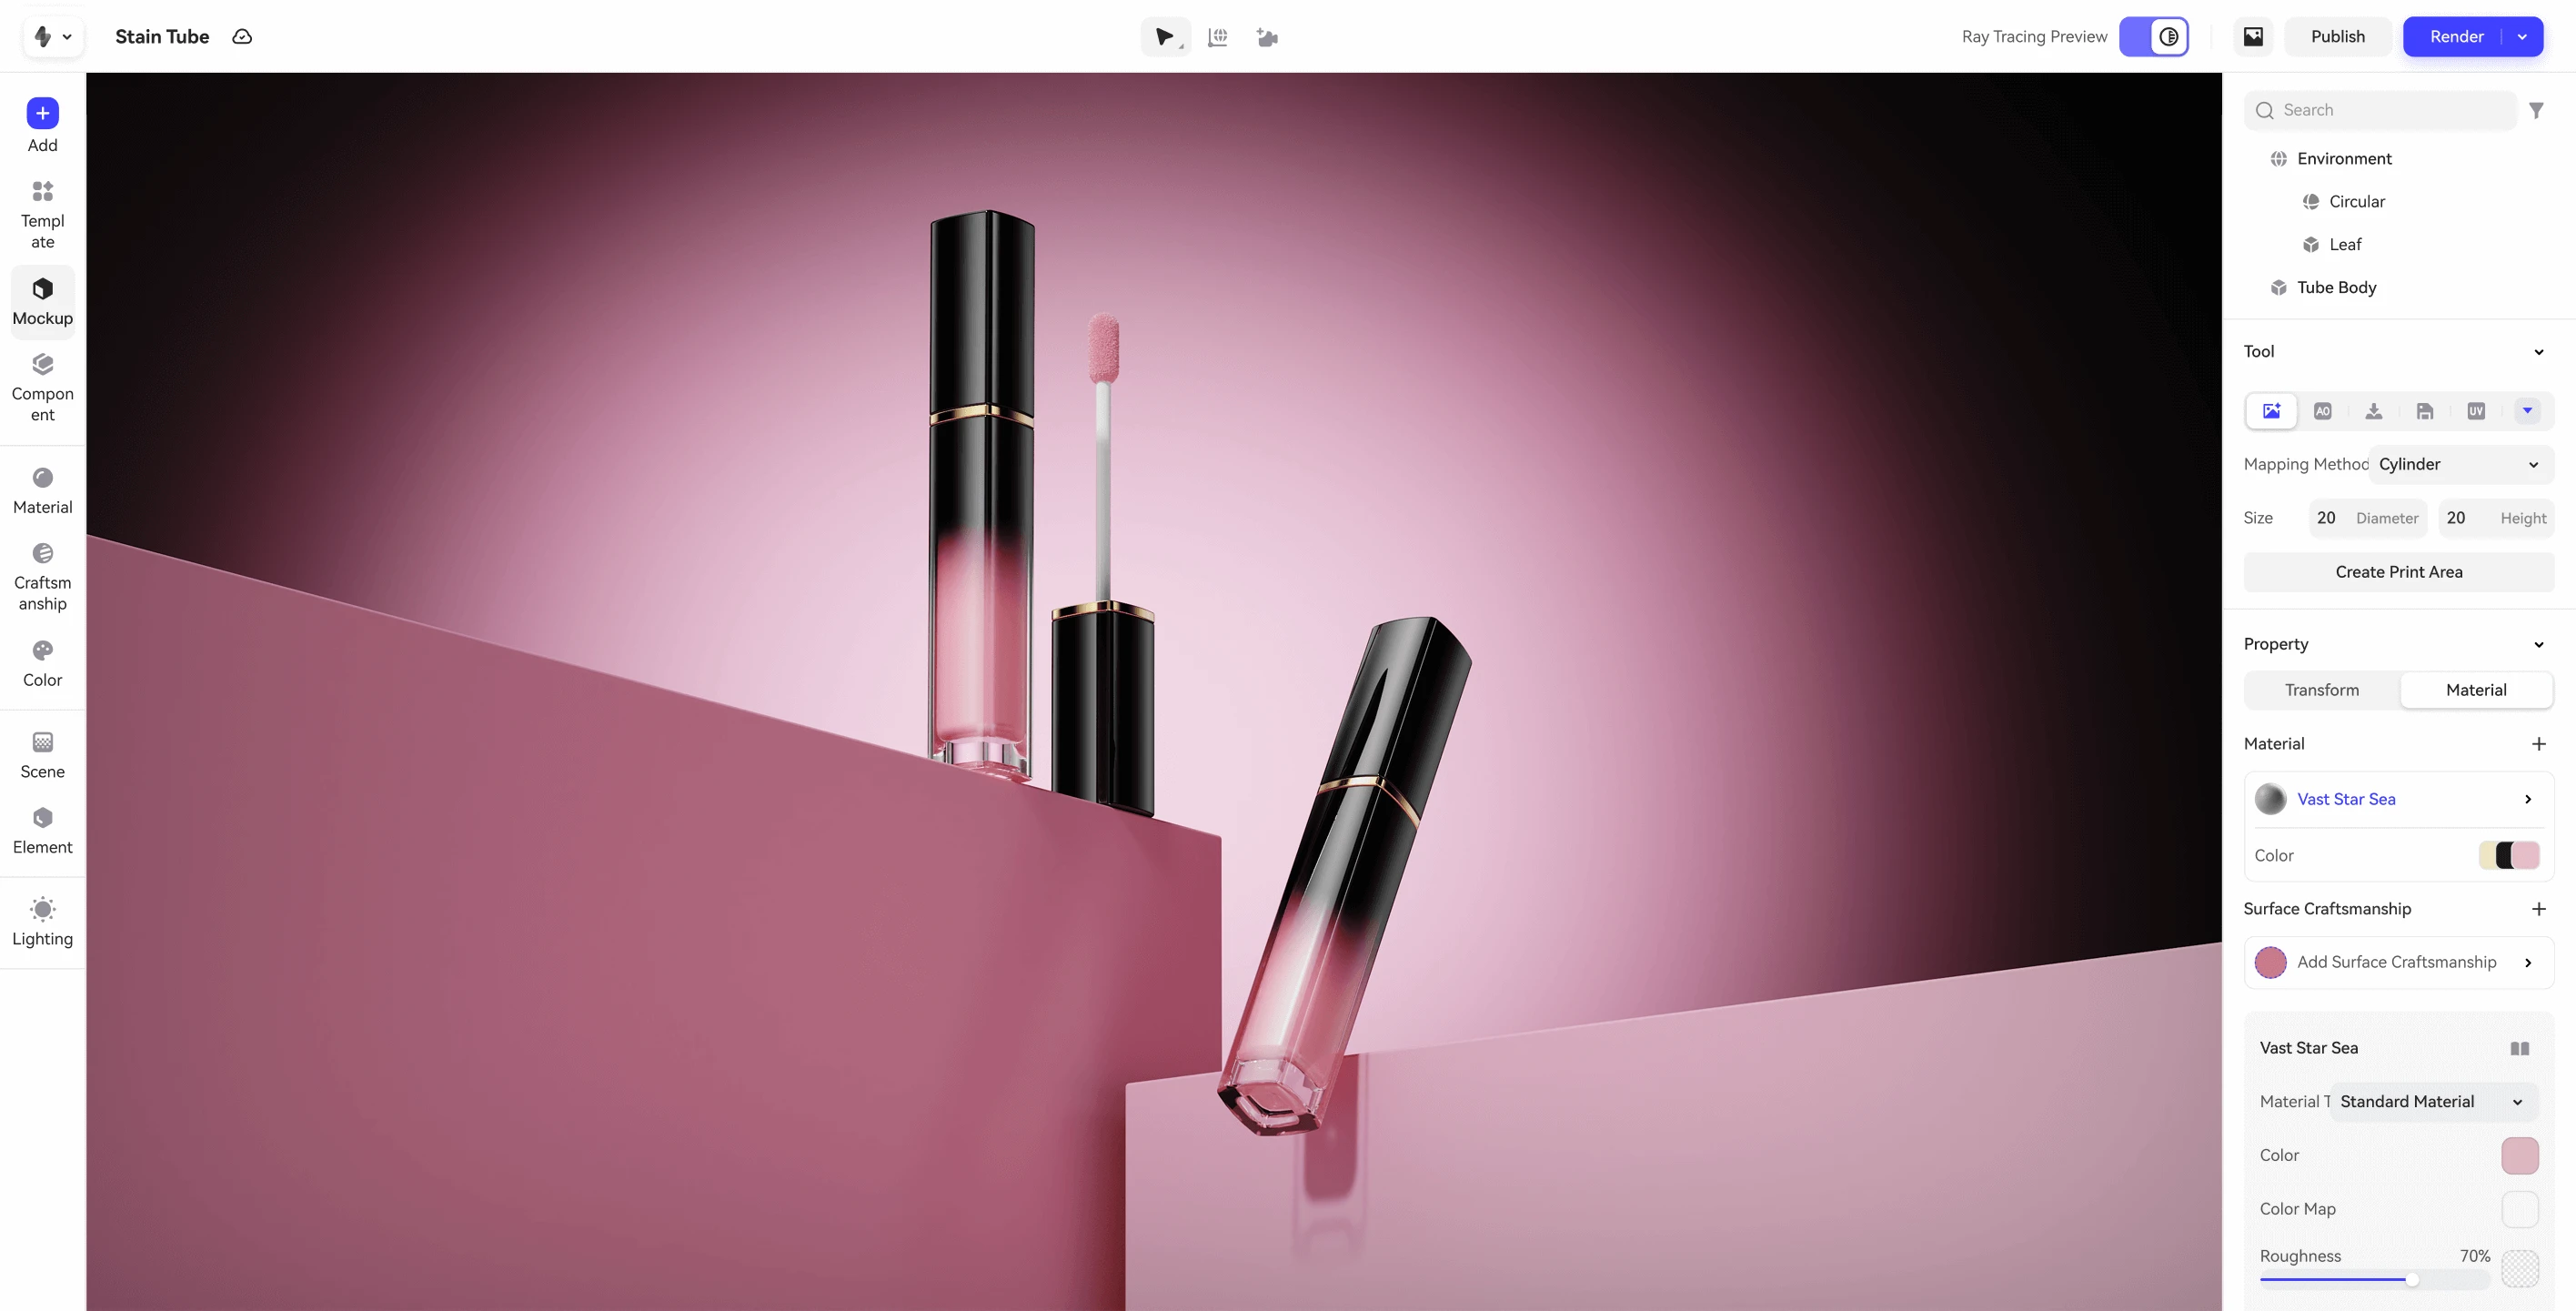
 In Product Design & Marketing: That flawless watch on a billboard? That perfectly uniform squad of shampoo bottles in a TV ad? There’s a very high chance they are 3D renders, crafted to achieve a level of perfection that real-world photography struggles to match. This is particularly true in 3D rendering for packaging design.
 A flawless render of a cosmetic product, showcasing the perfection demanded by modern marketing.
How to Get Started and Learn 3D Rendering
Feeling inspired? The good news is, stepping into this world has never been more accessible. To learn 3D rendering, you just need to consider two paths.
 The Traditional Path (The Deep Dive): This involves choosing a powerful, all-in-one desktop application like Blender (a free masterpiece) or Cinema 4D. This route gives you ultimate control, but be prepared for a steep learning curve and the need for a very powerful, and often expensive, computer.
 The Modern Path (The Smart Start): I consistently advise newcomers to begin with an intuitive, browser-based platform. This is where a tool like Realishot shines. Its powerful free tier is the perfect, zero-risk environment to learn.
 No Hardware Barriers: It runs in your browser, so you don't need a supercomputer.
 No Learning Curve Frustration: Its intelligent, AI-assisted tools and professional templates handle the most complex parts for you, letting you focus on the creative fun. It's the best way to learn the art of rendering without getting bogged down by the frustrating science.
Conclusion: More Than Just a Pretty Picture
So, what is 3D rendering? It’s a technical process, yes—a symphony of algorithms and calculations.
But on a more profound level, it’s a form of modern magic. It is the language we use to give our most ambitious and imaginative ideas a convincing, visible form. It bridges the gap between a dream and a tangible reality. And today, thanks to a new wave of accessible tools, that magic is finally within everyone's reach.
