You searched for a "CMF design course." That tells me you're ready to dive into one of the most exciting fields in product design. But I'm guessing you're also facing a wall of dense theory, long video lectures, and abstract concepts that don't seem to connect with the real world.
Let’s be honest. The fastest way to learn isn’t by memorizing color codes; it's by creating.
So let's skip the 80-page PDFs on material science for a moment. In this quick-start guide, we’re not just going to talk about CMF—we’re going to build a complete project together, right now. Forget the final exam; your grade is a portfolio-ready render that proves you can do the work. And if you're just starting, a quick read of our guide on What is CMF Design? is the perfect primer.
What You'll Achieve in This Mini-Course
This isn't just a tutorial; think of it as a condensed, hands-on workshop. By the end of this guide, you will have successfully:
 Applied a full suite of materials—plastics, metals, and leathers—to a complex product model.
 Customized textures and finishes to tell a story of premium quality and create a tactile feel.
 Set up professional studio lighting to make your product look heroic.
 Produced a photorealistic final render ready to be the star of your portfolio.
We'll be using Realishot for this project. Why? Because it’s an entire CMF studio that runs in your browser. No powerful hardware needed, no software to install, no render farm to configure. Just open a tab and start creating. You can follow along step-by-step from any computer.
The Project: CMF Design for JBL Headphones (Video Walkthrough)
Here it is—the entire workflow, from a blank 3D file to a stunning final visual. Watch me transform a basic model into a market-ready product. I recommend you open Realishot in another tab, pause the video as needed, and build your own version right alongside me.
Deconstructing the CMF Process: Key Steps Explained
Watched the video? Great. Now, let’s break down the core CMF decisions made at each stage. This is where the strategy behind the clicks comes into play.
Step 1 – The Blank Canvas: Importing Your Model (0:17)
Every great design starts with a clean slate. In our case, it's a raw 3D model of a pair of headphones, stripped of any color or material information. We simply drag and drop the file into our Realishot scene.
This step is critical. It forces you to see the product not for what it is, but for what it could be. You're looking at pure form, a sculpture waiting for you to give it a soul.
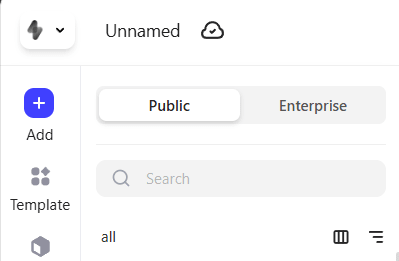 upload your model
Step 2 – Building the Foundation: Applying Base Materials (0:21)
You don’t paint a masterpiece on bare canvas; you prime it first. In CMF, this means applying foundational materials to the largest parts of the product.
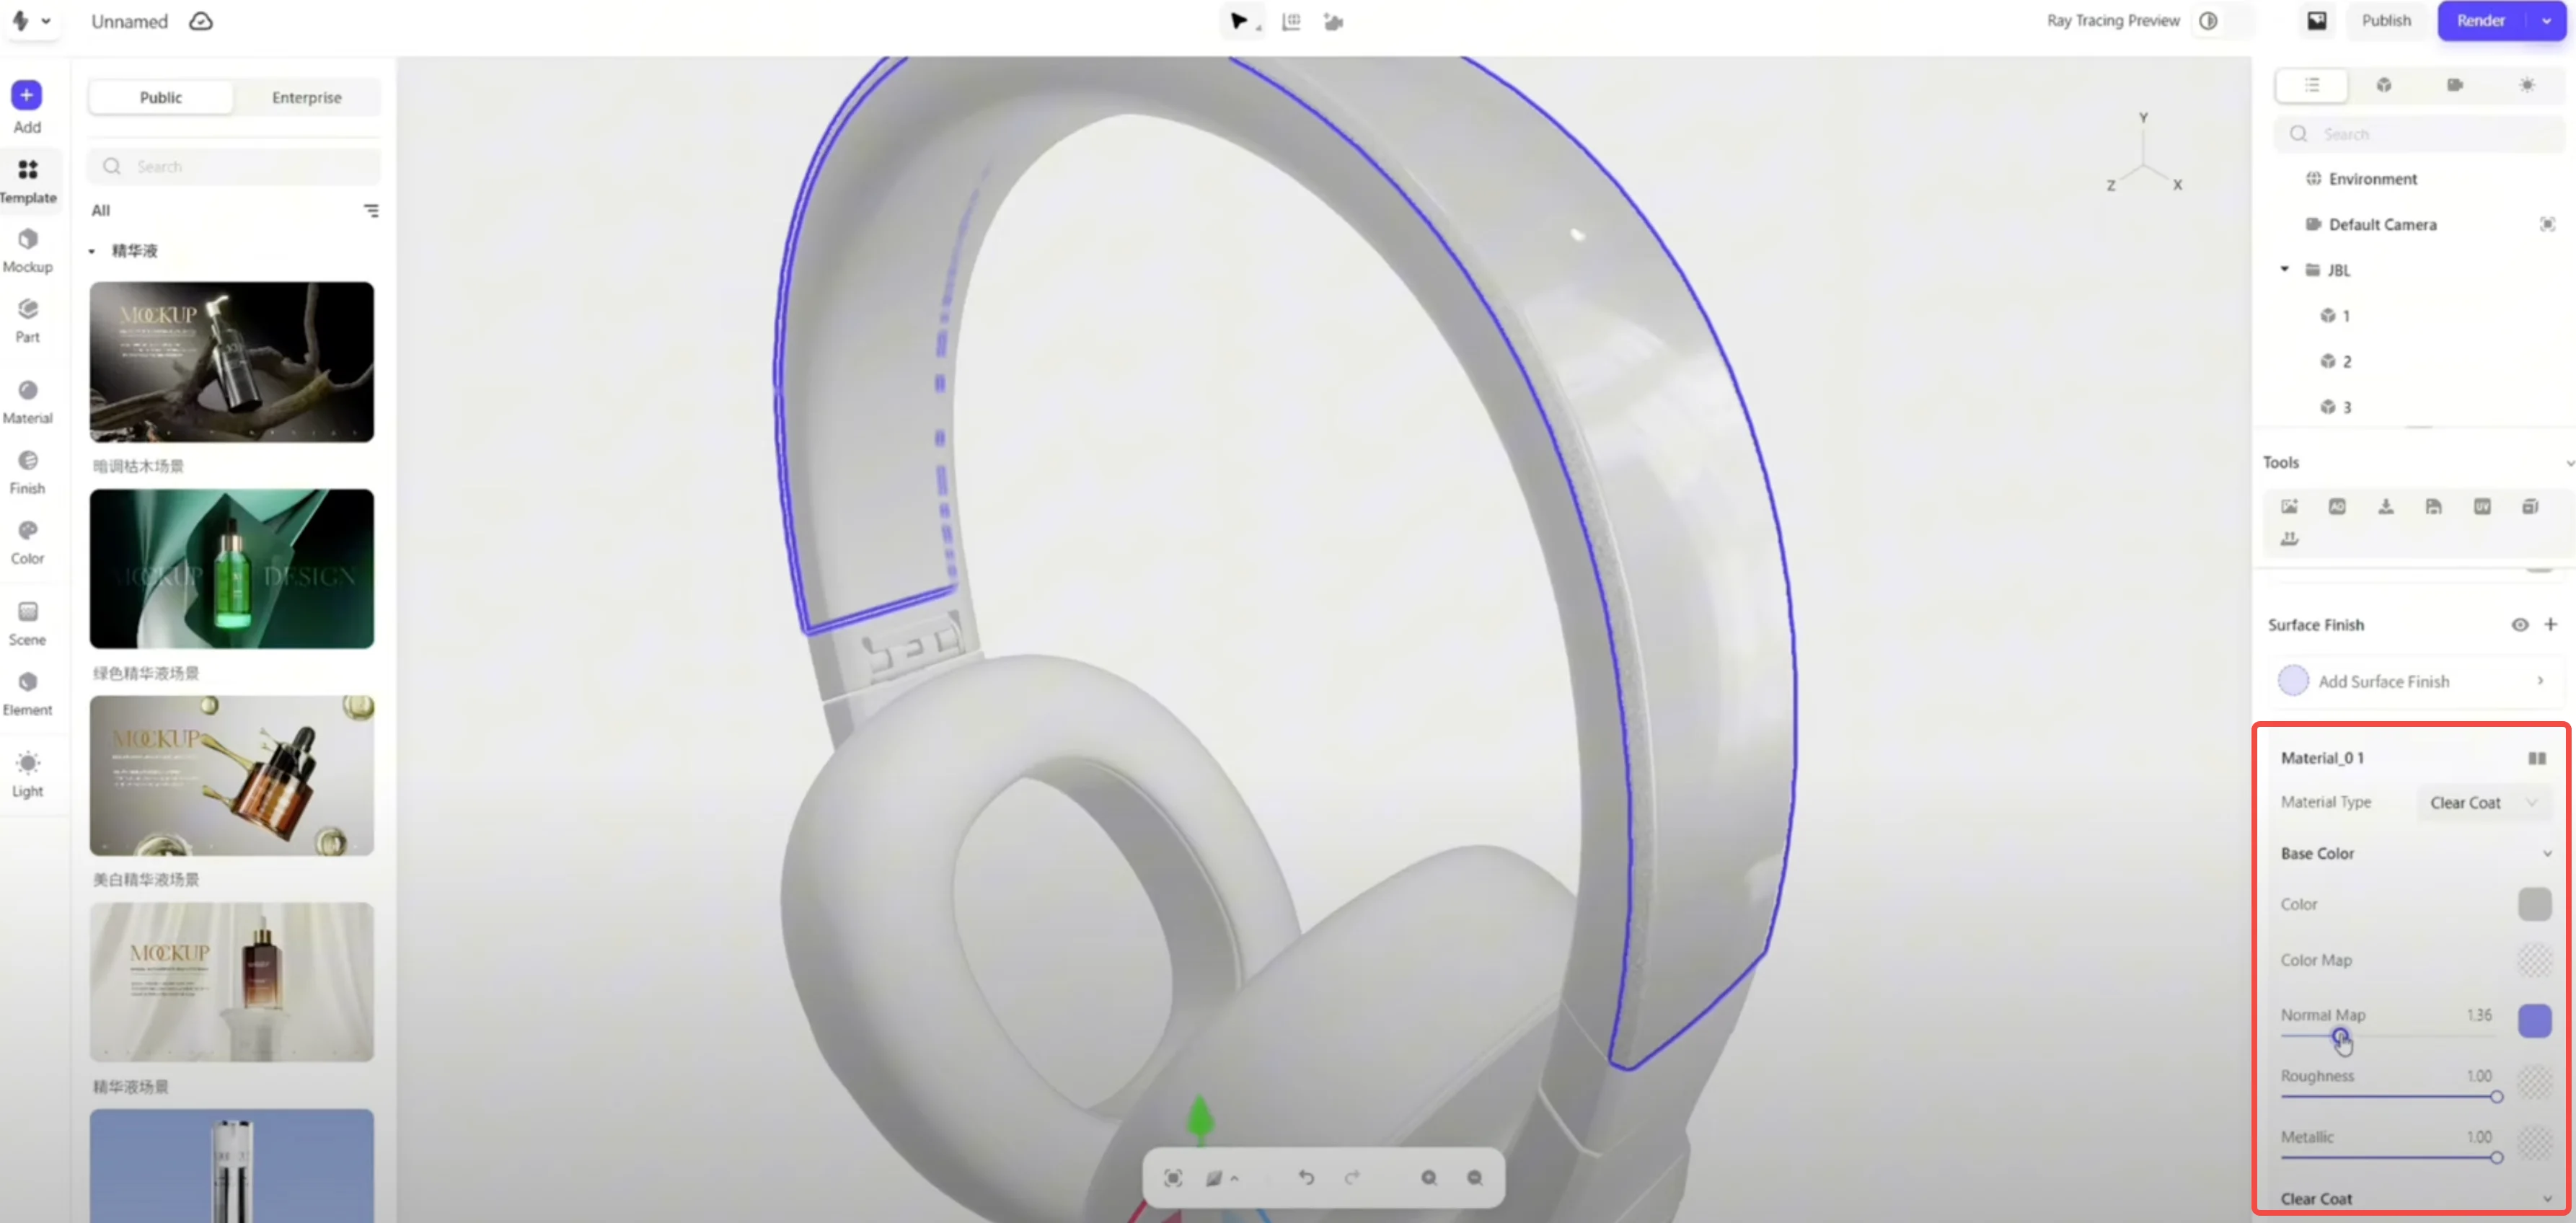 Materials Setting
In the video, you see two key moves:
 A clean, matte white plastic is applied to the main body. This serves as our neutral, foundational color.
 A brushed metal material is assigned to the headband trim.
This stage isn't about the final finish; it's about making broad decisions that establish the product's core identity—modern, clean, with premium accents. We're using some of the best features found in modern CMF Design Software to lay this groundwork instantly.
Step 3 – The Magic in the Details: Textures and Finishes (0:47)
This is where CMF transitions from concept to reality. A simple plastic is just a color. But a plastic with a specific texture, roughness, and finish tells a story.
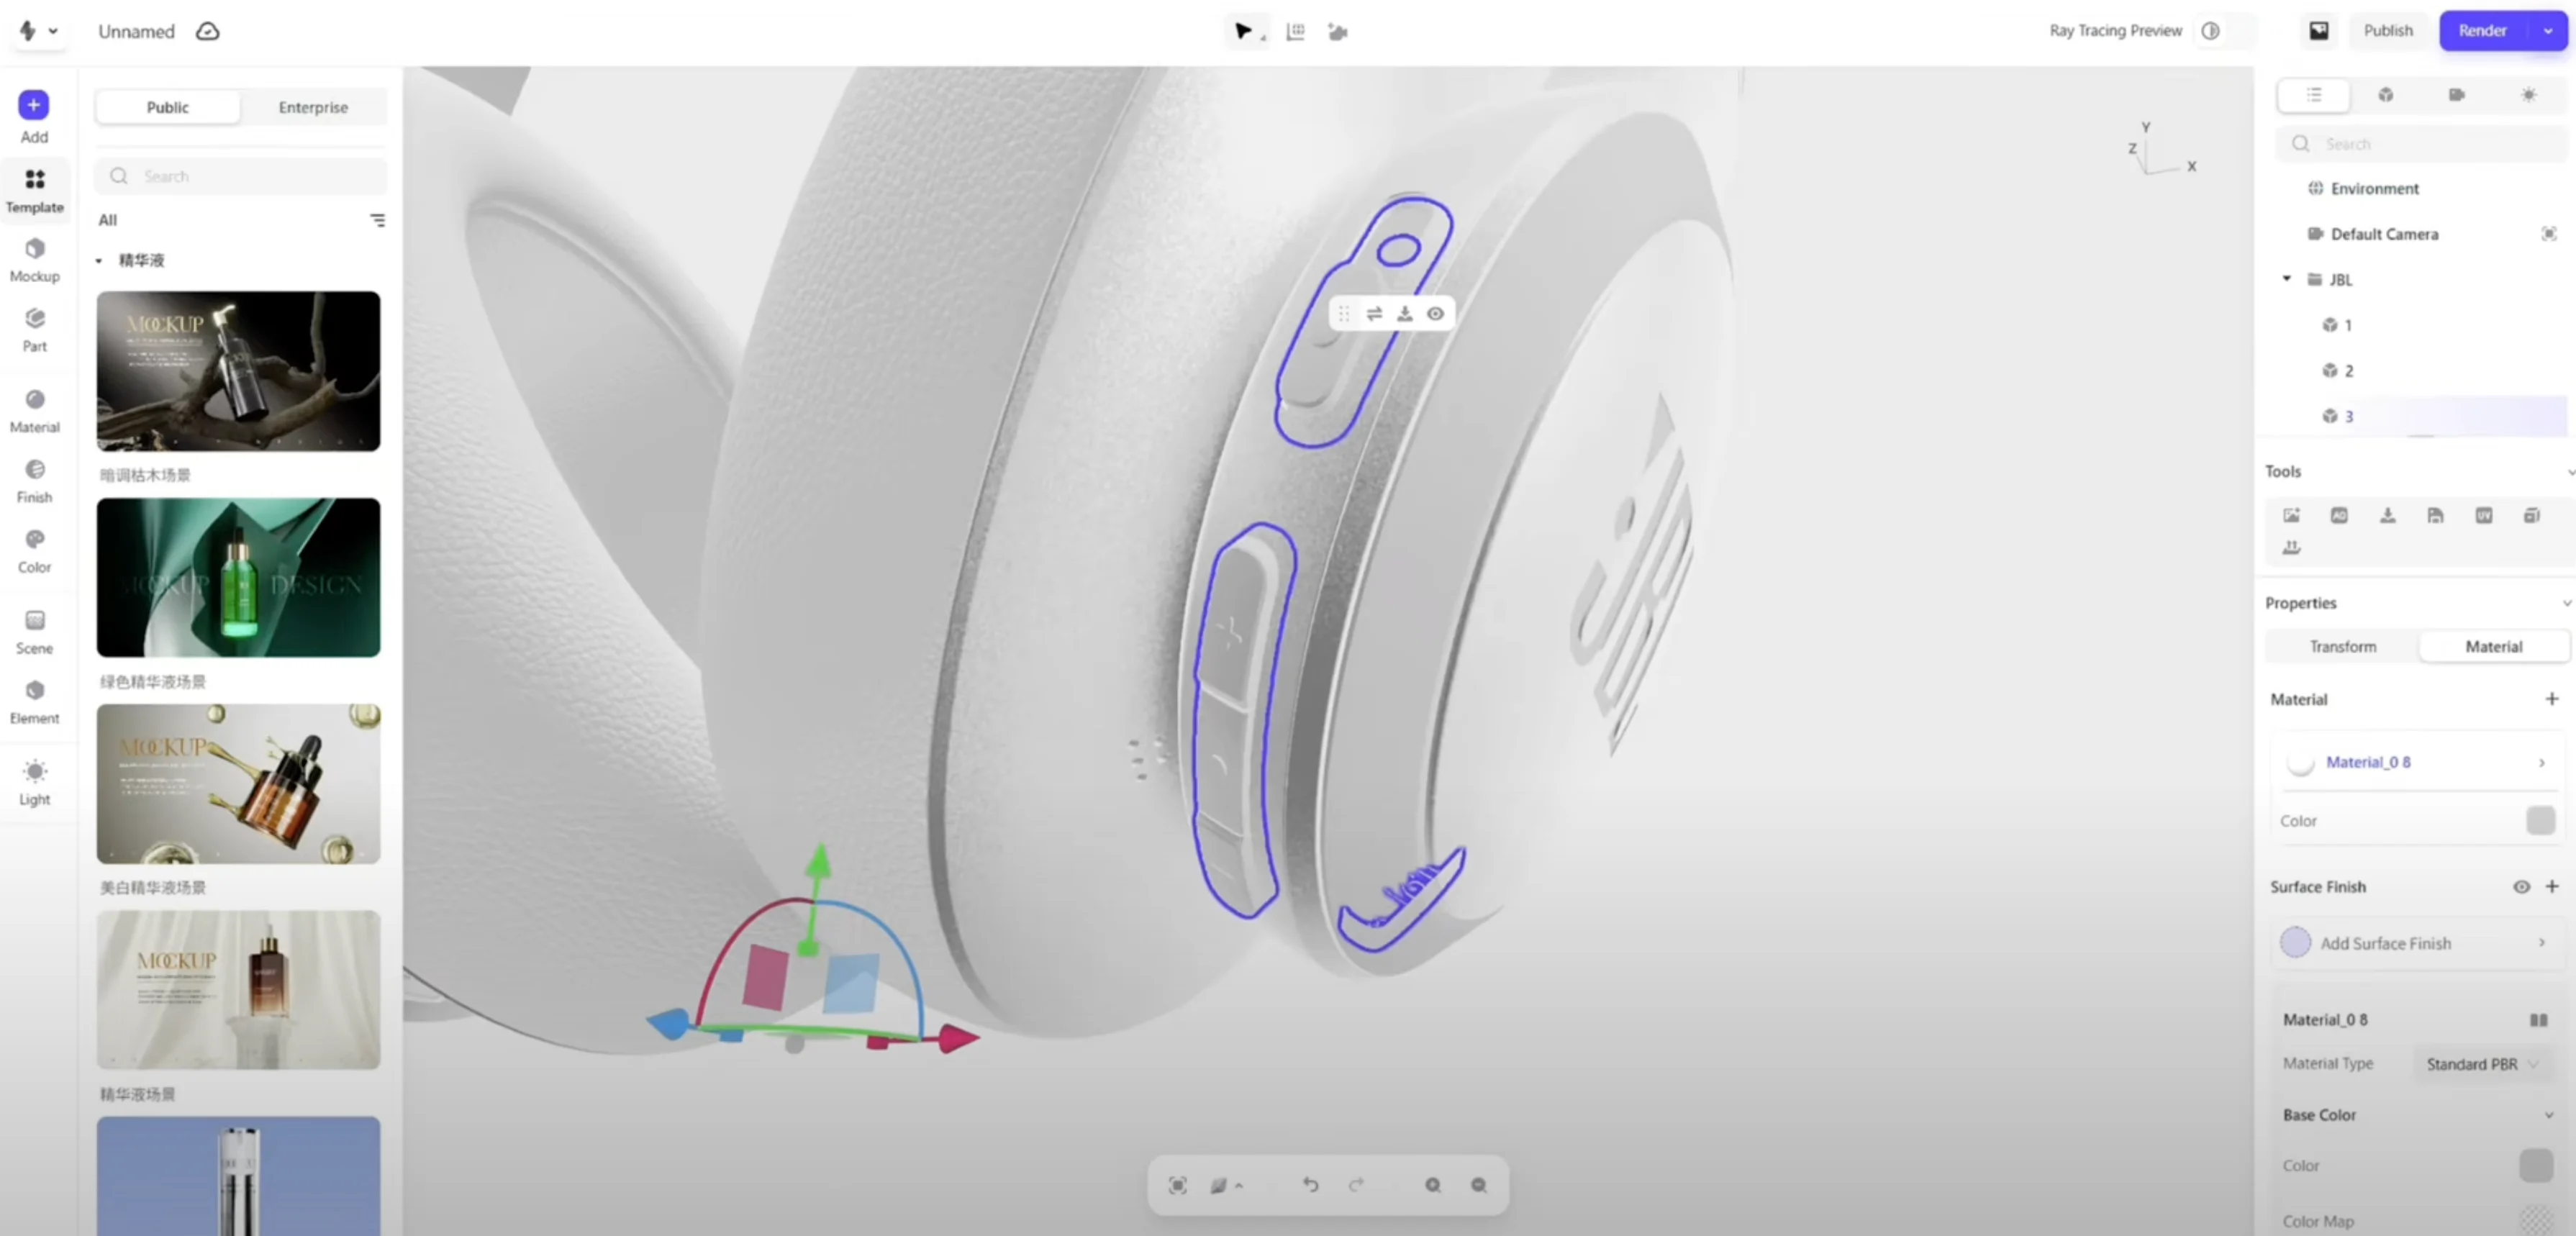 textures and finishes
Notice the texture applied to the soft padding of the headband and earcup. It's a subtle leather normal map. It doesn't just add a pattern; it completely changes the perceived material. It communicates comfort, luxury, and durability. This is the difference between a product concept and a tangible product experience.
We then refine the metal components, adjusting their properties to be a polished stainless steel. This sharp, reflective finish creates a powerful visual contrast against the soft, light-absorbing plastic and leather, making the product look and feel expensive.
Step 4 – Branding & Graphics: Applying the Logo (1:30)
A brand's logo is never just a sticker; it's an integral part of the CMF story. Here, we treat the iconic "JBL" logo not as a graphic, but as its own material.
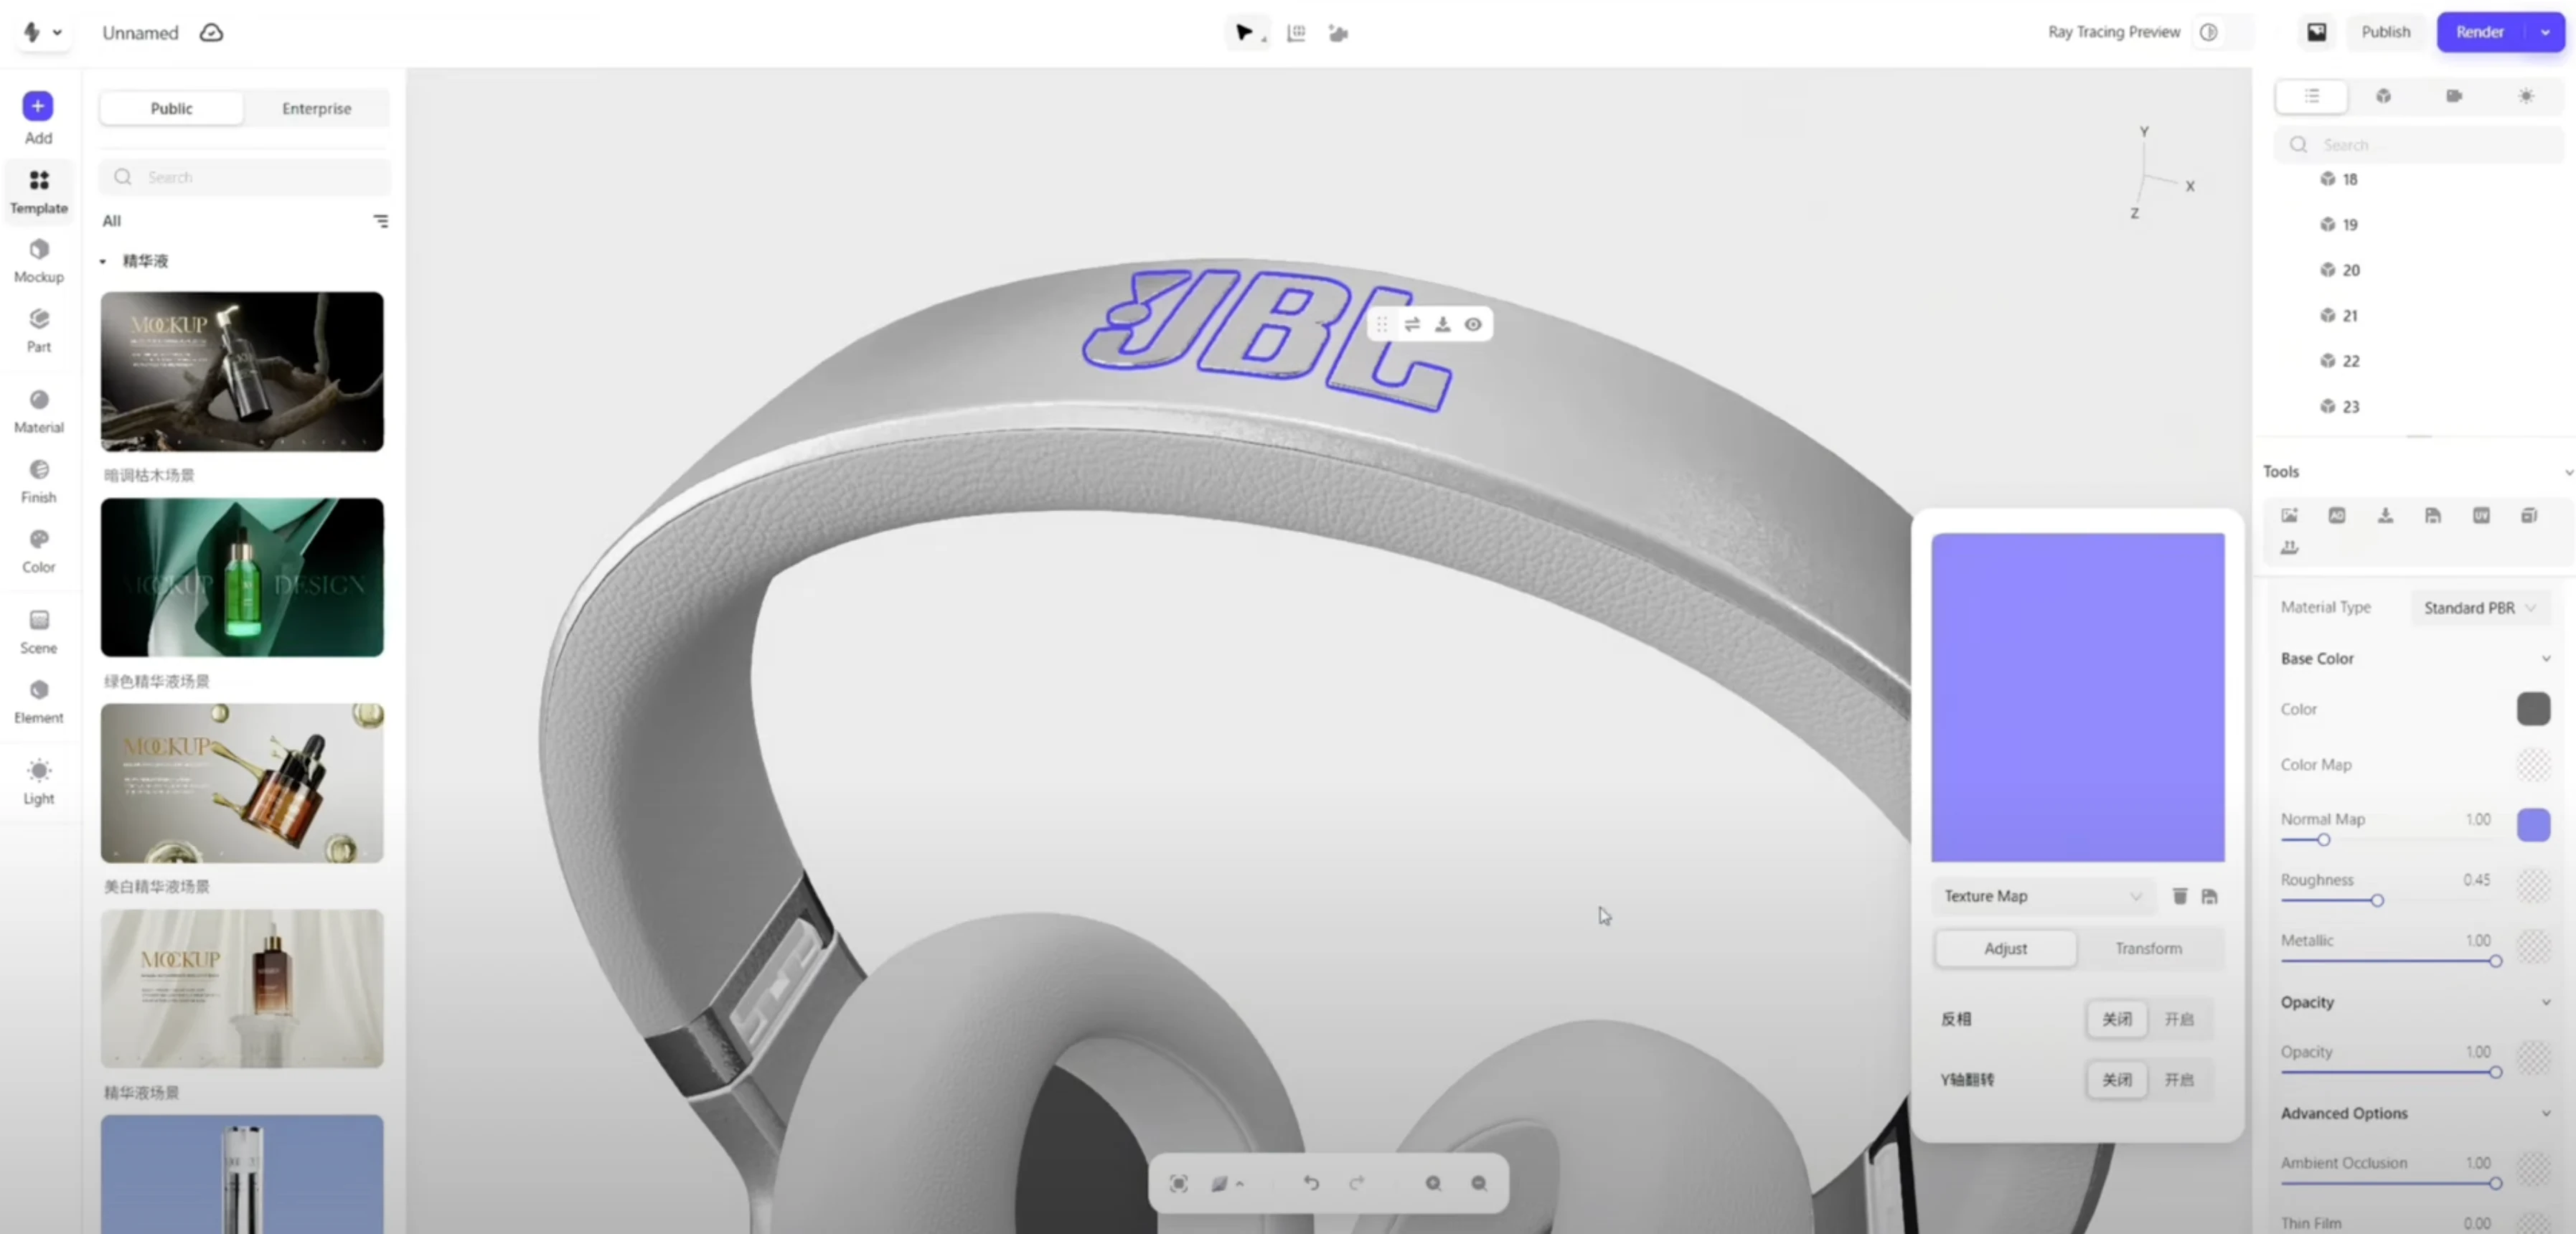 headphone cmf step 4 applying logo
We assign it a new, distinct metallic finish. By increasing the "metallic" value and decreasing the "roughness," we make the logo slightly more reflective and refined than the surrounding metal. It catches the light just a bit differently, ensuring it stands out while still feeling perfectly integrated into the product's design.
Step 5 – Setting the Mood: Lighting & Scene (2:05)
A world-class CMF design can be completely undermined by poor lighting. The material choices you've painstakingly made will only shine if they are lit correctly.
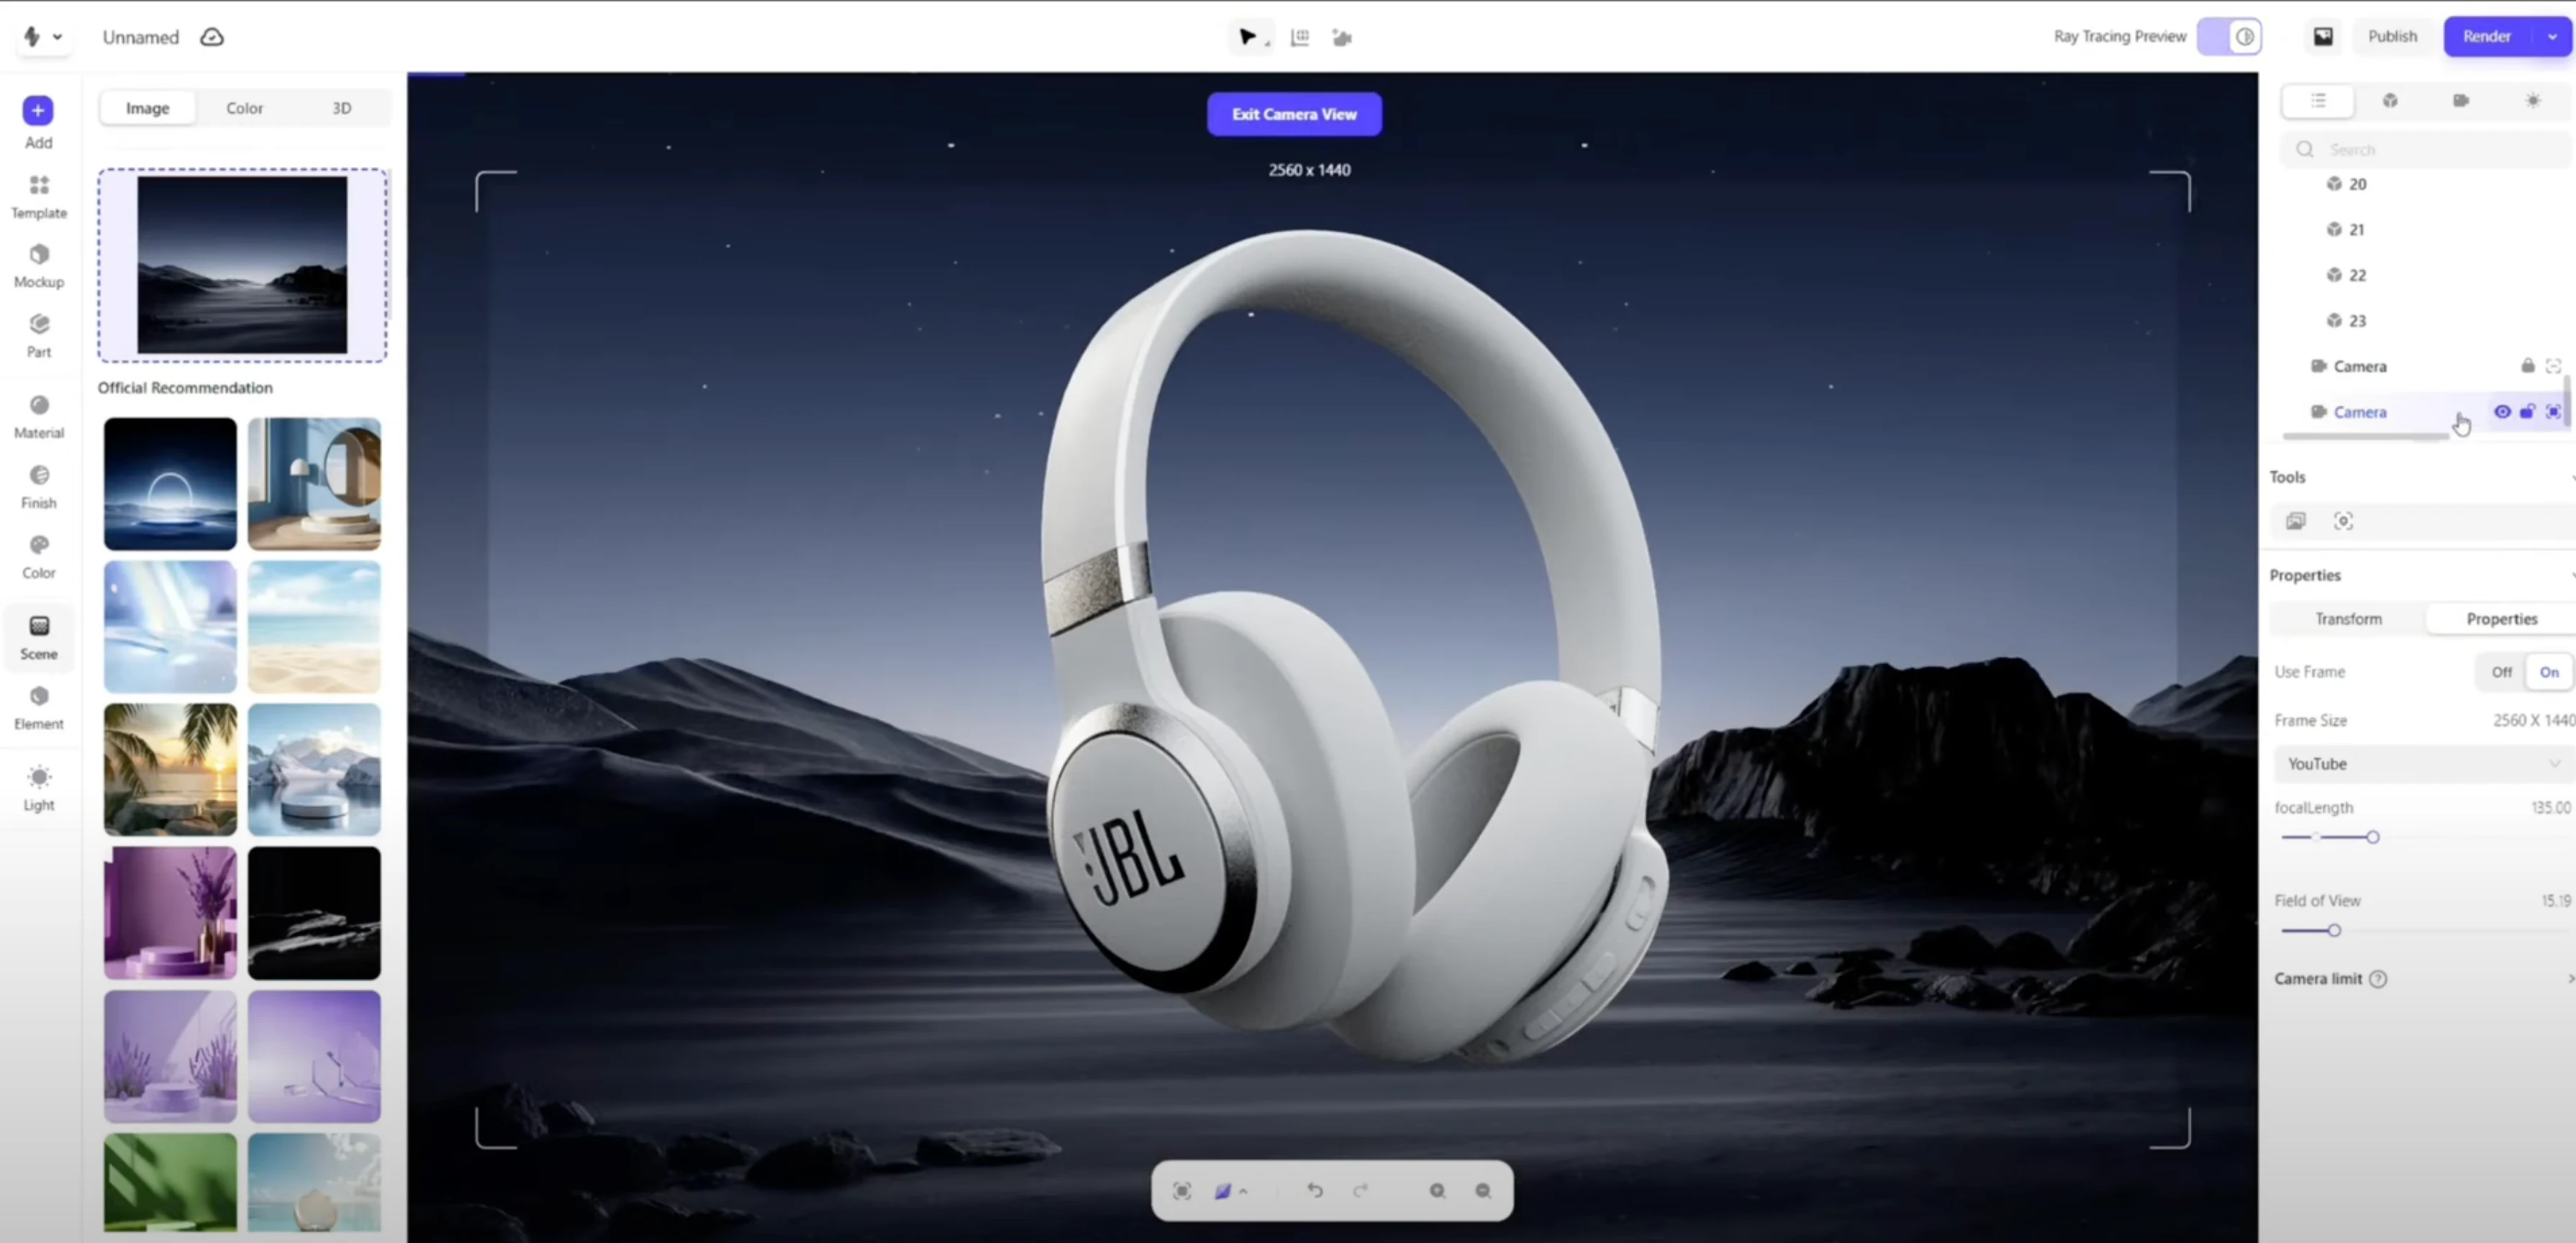 step 5 headphone cmf ighting-scene
Instead of a boring white background, we place the headphones in a dramatic, atmospheric scene. The cool, ambient light from the starry sky reflects beautifully off the polished metal, while soft highlights trace the curves of the matte plastic. The environment isn't just a backdrop; it’s an active participant, enhancing every texture and finish we’ve selected.
Step 6 – The Final Shot: Camera & Rendering (2:23)
Now for the payoff. All our design work culminates in this final step: creating the image.
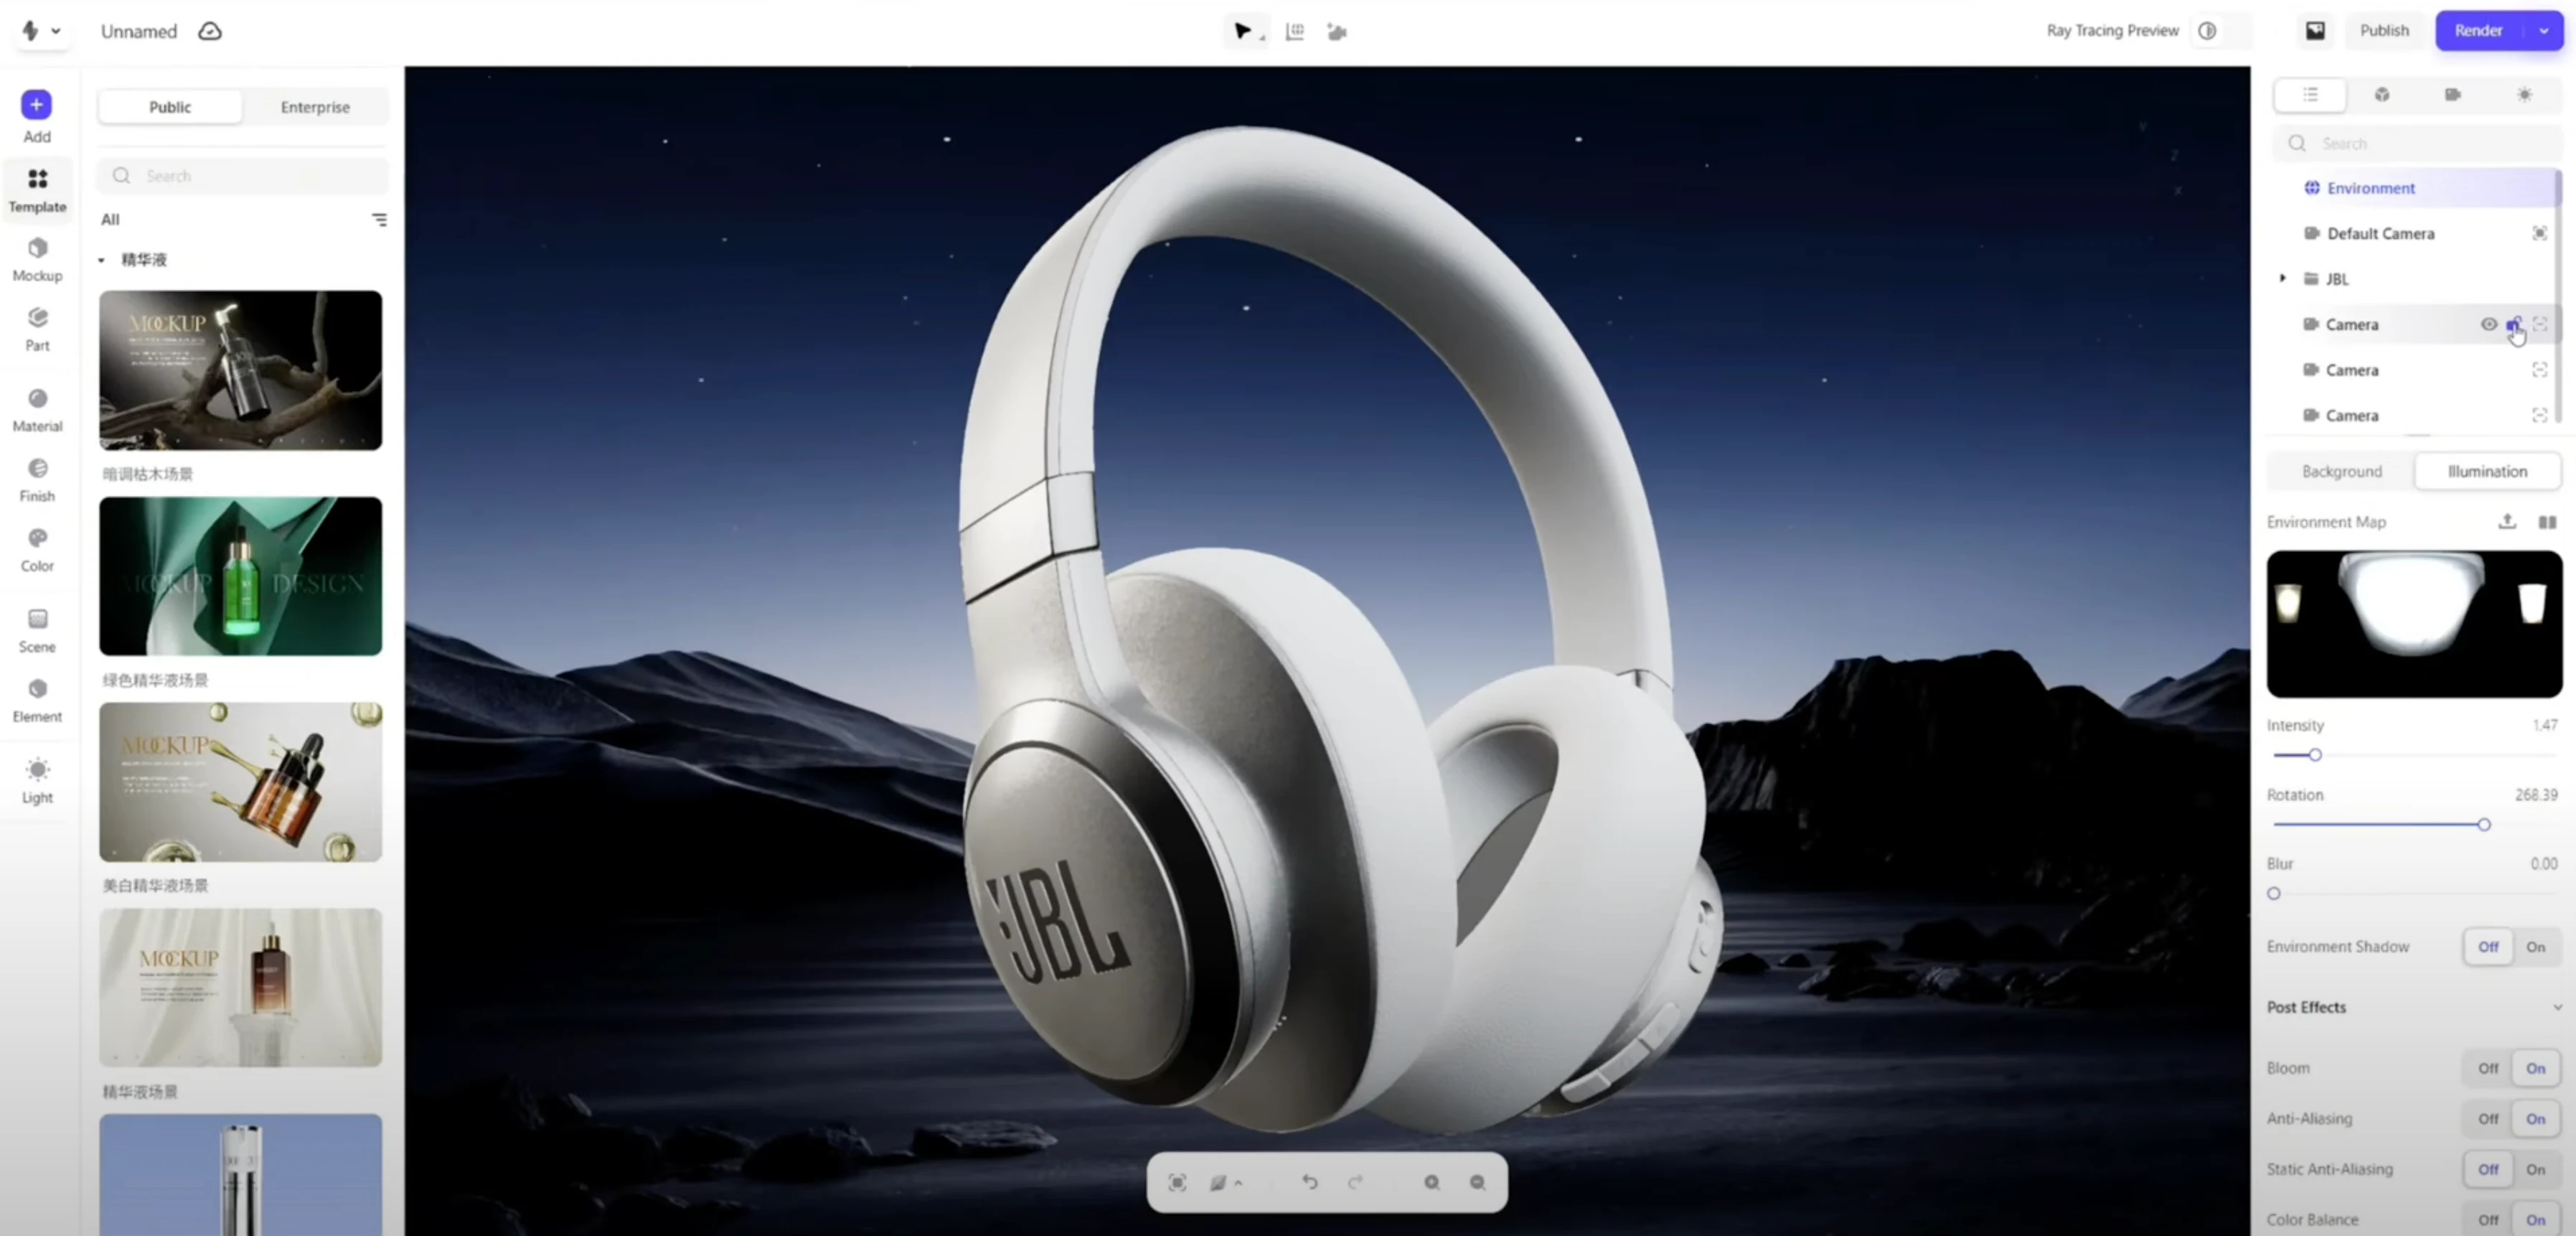 headphone cmf step 6 camera & rendering
We set up several distinct camera angles. This is crucial. You don't just need one shot; you need a set of assets:
 A "Hero" Shot: The primary, most compelling view of the product.
 A Detail Shot: A close-up focusing on the logo and material interplay.
 An Alternate View: Showcasing the texture on the earcup.
Once these cameras are locked, we add them to the batch render queue. With a single click, Realishot's cloud servers take over, processing all the images at once without tying up our local machine. The result is a complete set of marketing assets, perfectly lit, beautifully rendered, and ready to go. The entire process is a perfect illustration of How to Make 3D Renders of Products efficiently.
Key Takeaways From Your First CMF Course
You just completed a full CMF design project. You learned more by doing in a few minutes than you would in hours of reading. Here are the core principles you just put into practice:
🔑 CMF is a story. You didn't just pick colors from a chart. You used a matte finish to say "modern," a leather texture to say "comfort," and a polished metal to say "premium." You told a compelling story through your material choices.
🔑 Contrast is King. The visual power of the final design comes from the interplay between different materials. The glossy logo on the brushed metal, the soft leather against the smooth plastic—these contrasts create visual excitement and a high perception of quality.
🔑 Workflow is everything. Notice how the entire process—from model import to lighting, material assignment, and final rendering—happened in one place. There was no need to jump between different, complex applications. A modern, integrated platform is your single most important tool.
Ready for Your Next "Class"?
Congratulations. You've successfully designed, lit, and rendered your first CMF project. The most important lesson? The key to mastering CMF design isn't about finding the perfect course; it's about starting the next project. And the one after that.
You now have the fundamental workflow down. The next step is to practice it. Grab a model from Realishot’s asset library, upload your own design, and apply the principles you learned here. Experiment. Break things. Discover what incredible stories you can tell with color, material, and finish.
Tired of theory? Good. Class is dismissed. It's time to go create.
